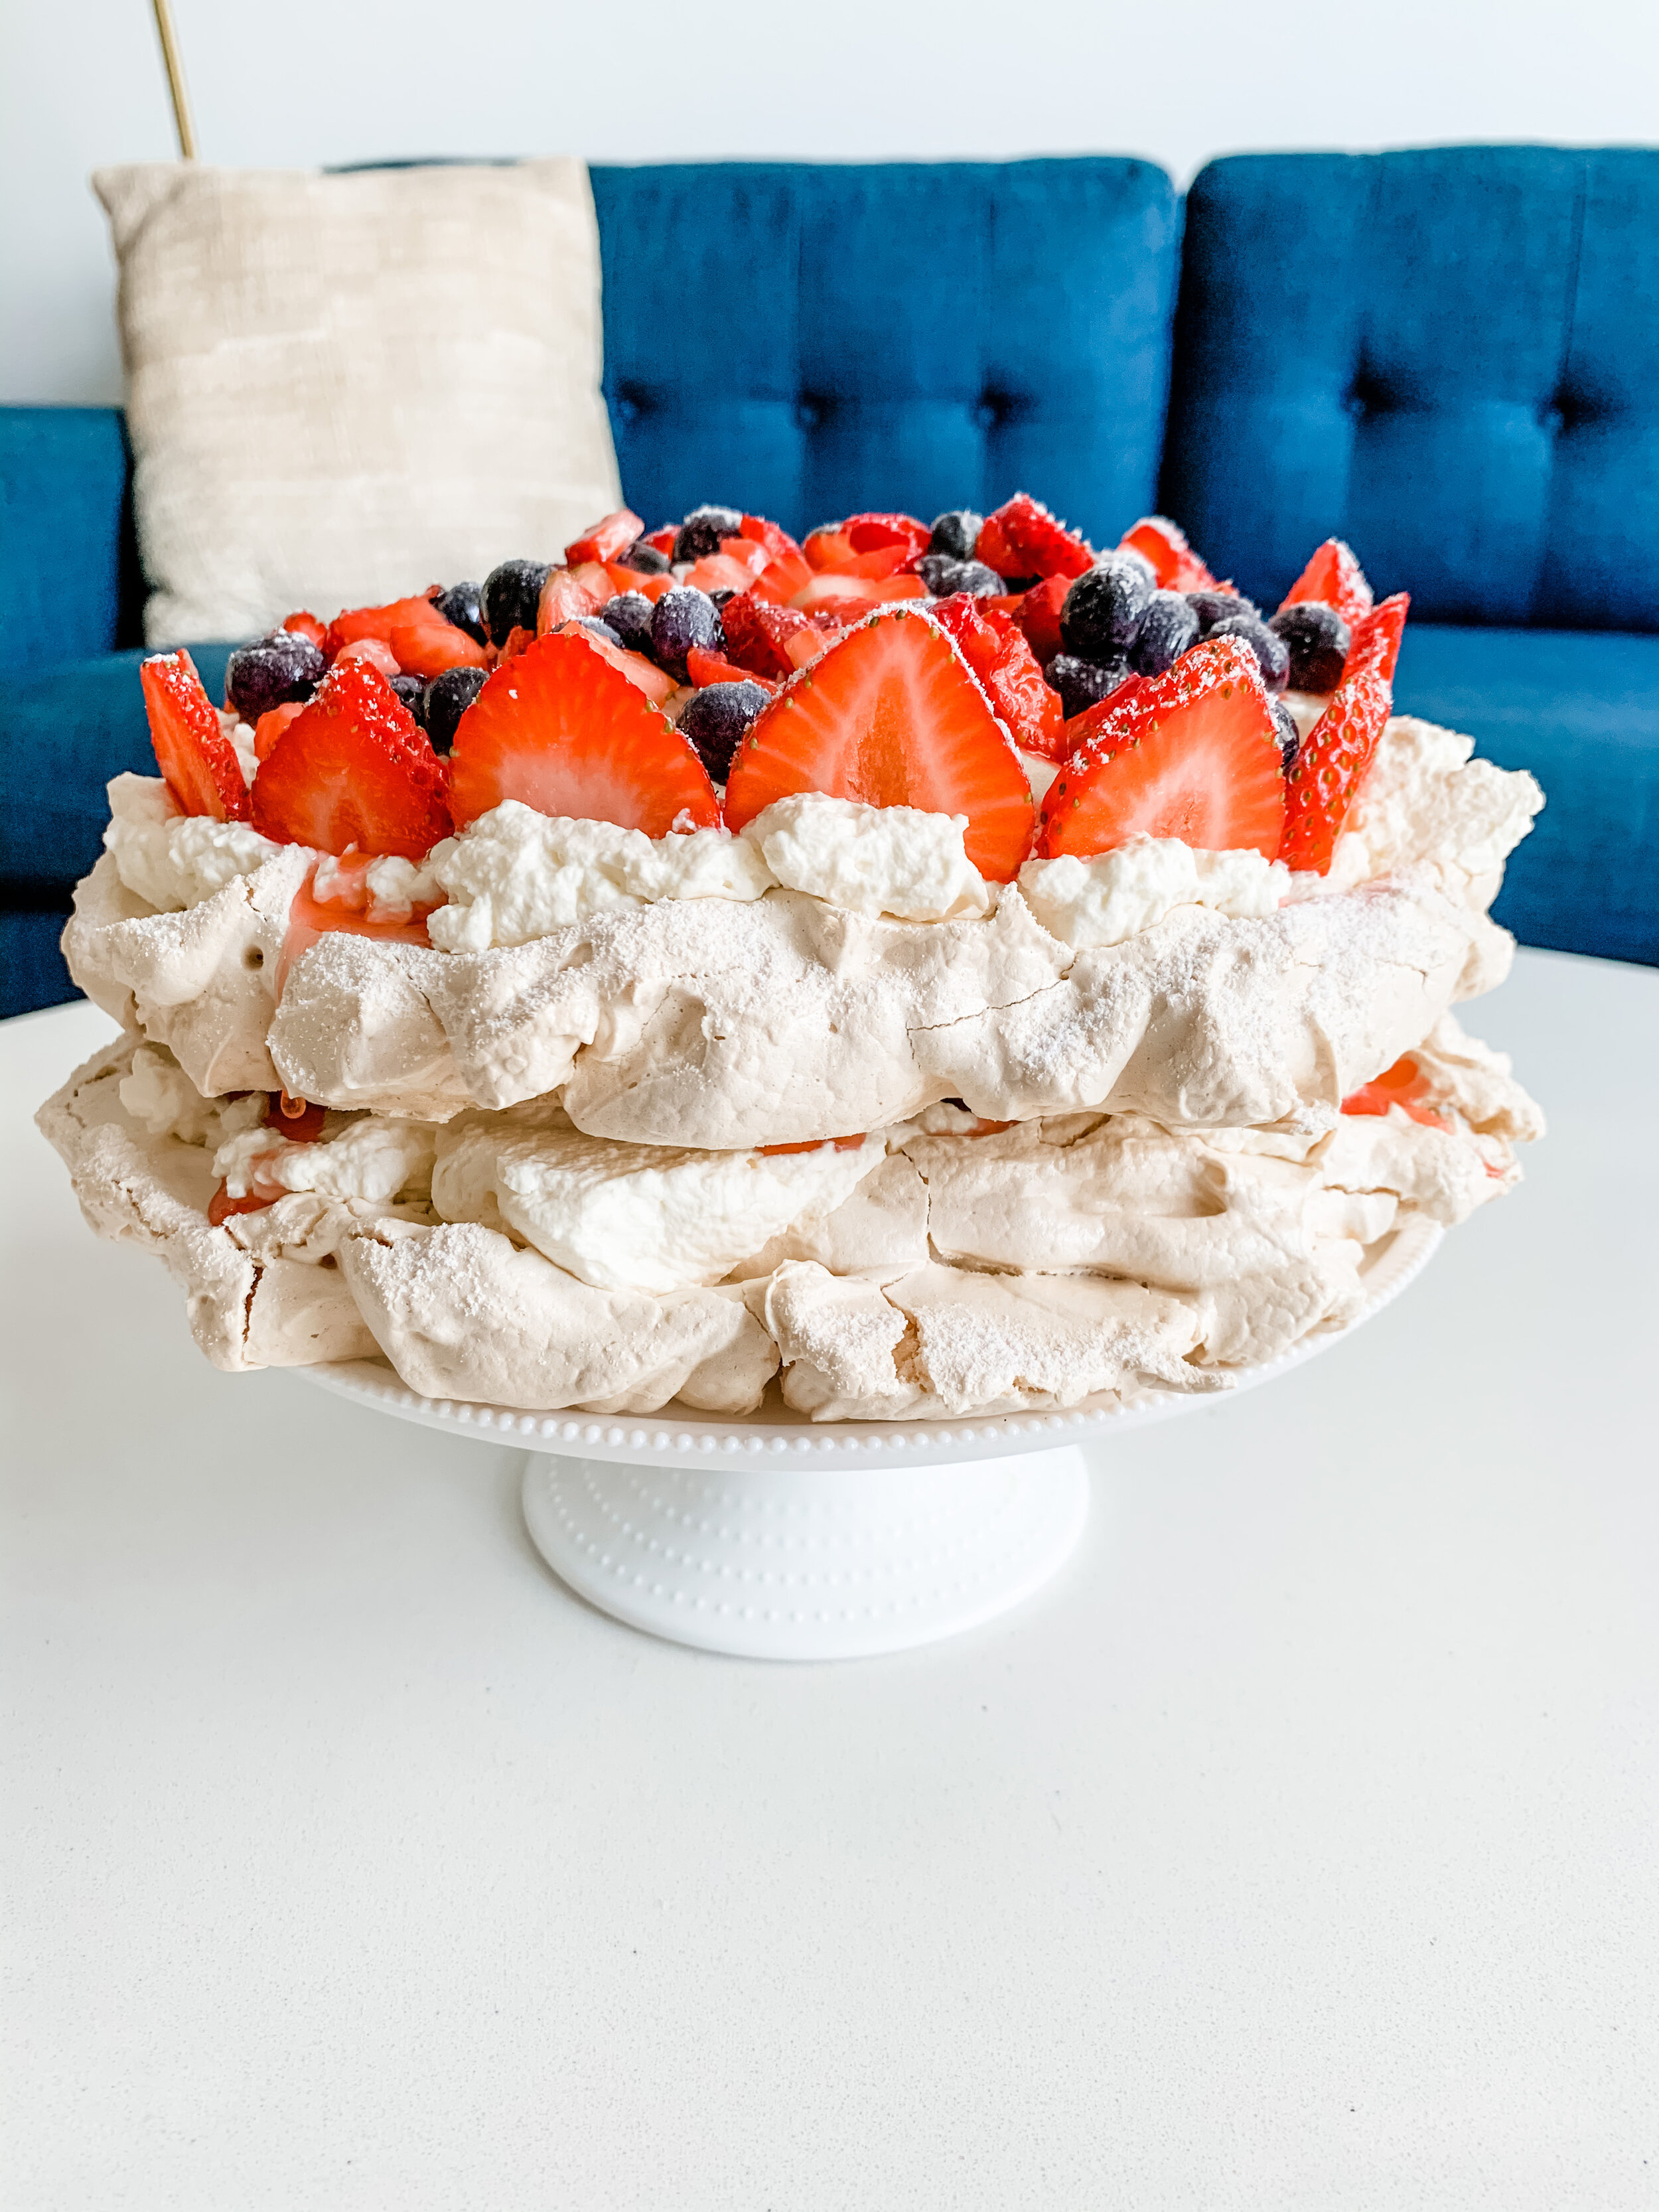
a pavlova-ly summer treat
Next weekend is Labor Day, which marks the end of summer, so I thought I’d better take advantage of the summer flavors and get a little more practice with my meringue skills. I’ve also had a page marked in my copy of A New Way to Cake all summer, so figured I’d start working my way through it.
I followed all the tips directed in the book for the pavlova, which meant extra planning & patience on my part to start this a day before to allow the pav to cool overnight. I thought by taking on baking as a hobby this summer, I’d just be improving my skills in the kitchen, but think I’ve noticed an improvement in my patience as well. Just in time for this huge endeavor of child rearing that will begin in only 5 short weeks now!
Since the pavlova is basically just a giant meringue, it’s a very delicate cake. Reason it’s best to start this process the night before is to allow the meringue to cool slowly in the oven once you turn the heat off so that it doesn’t experience a rapid temperature change. That’s the theory at least. I still got a couple cracks in my meringues, but no worries with this cake — it’ll be pretty easy to hide the cracks with these layers.
Once the meringues are done and cooled (this morning for me), the rest of the layers are easy to whip up… literally. Just a little homemade whipped cream and macerated berries, then layer, layer ‘em up and repeat!
If macerated berries sounds fancy to you, trust me it’s not. I went into all kinds of detail on it when I made strawberry shortcake biscuits a few weeks ago. it’s essentially just allowing the berries to sit in some sugar for 30-45 minutes to let the juices all flow out.
Forgot to take a pic of the whipped cream, but that’s nothing to call home about anyway. Just a couple cups of heavy whipping cream & vanilla extract, and you’ll never need to buy a can again! Once you’ve got the cream, just pile it over your first layer of meringue, then half the berries, then repeat. Pile high and you’ve got your pav!
summer berry pavlova
Prep Time: 20 mins | Bake Time: 90 mins | Inactive Time: 2-8 hours
PAVLOVA INGREDIENTS:
250g granulated sugar
150g egg whites
1 teaspoon cornstarch
WHIPPED CREAM INGREDIENTS:
2 1/2 cups heavy whipping cream
1 tablespoon vanilla extract
BERRY TOPPING INGREDIENTS:
110g blueberries
150g diced strawberries, plus a few extra berries sliced thin for decoration
75g granulated sugar
DIRECTIONS:
Preheat the oven to 375F and line two baking sheets with parchment paper. Using a plate or any other round shape, trace an 8-inch circle on each piece of paper with a pencil, then flip the papers over so that the meringues don’t touch the pencil lead.
Start making the meringues. First, heat the sugar in the oven until the sides start to melt (about 5 minutes). Hot sugar dissolves easier in the egg whites to make the meringue. While, the sugar is heating, add the egg whites to the bowl of your stand mixer. Make sure the bowl is VERY clean.
Tip: wipe the bowl with a squeeze of lemon or a bit of white vinegar to make sure no oils remain in the bowl.
Using the whisk attachment on low-medium speed, start beating the eggs until they become foamy. Turn the mixer speed up to medium-high until medium peaks form.By this point, your sugar should be heated enough and you can remove it from the oven. Turn the oven down to 250F. Then carefully & slowly start to add one spoon of heated sugar at a time to the egg whites with the mixer still on. Continue to beat the mixture until it’s thick and glossy, and it more than quadruples in size.
Once you finish adding all the sugar, beat for another 2 minutes. Then add the cornstarch and beat for another few seconds until it’s incorporated. The meringue should be done, but you’ll know by the stiff peaks and you’ll be able to flip the bowl upside down without anything falling out.
Spoon the meringue onto the prepared baking sheets using the circles as a guide. Don’t worry if the top isn’t flat because it’ll get covered up by the cream & berry layers. Place the trays in a single layer in the oven for 90 minutes or until the top of the meringues are firm to the touch.
Tip: don’t open the door too much or you’ll risk cracking the meringues with the temperature changes.Once the meringues are done, place them back in the oven and turn the oven off. Allow them to cool in the oven rather than at room temperature to help prevent cracking. Allow them to cool for at least 2 hours or overnight if possible.
Prepare the berries. Add the berries & sugar to a bowl and mix together. Let it sit for 30-45 minutes, stirring occasionally.
Prepare the whipped cream. Add the heavy whipping cream & vanilla extract to the bowl of your stand mixer. Using the whisk attachment, beat on medium-high speed until you have stiff peaks. Keep the whipped cream cool in the fridge until you’re ready to assemble.
Assemble the pav! Carefully remove the first meringue from the parchment paper and place on your serving plate or stand. Add a layer of whipped cream, then a layer of berries. Remove the second meringue from the parchment paper, and pile it on top and repeat. I used a few more strawberries thinly sliced to decorate the edges, but you do you! I’d also recommend draining the juices or else it gets a bit messy. Pile high & enjoy!


