

strawberries? whipped cream? biscuits? i KNEAD it!
Strawberry shortcake biscuits
I still remember the first time I had a strawberry shortcake. I was about 6 or 7 years old, and we took a family trip up to Maine. I think my grandparents and uncle were visiting from the Philippines, so we took a little road trip up and rented a house for a few days. I remember eating giant lobsters that we’d buy fresh, cook at home, and all enjoy in the little vacation house. And for dessert, my parents pulled out some fresh strawberries, mini shortcakes perfectly shaped to hold the filling, and a can of that good, good Reddi-Wip. I think I loved the whole DIY aspect of this dessert experience and the spray noise of Reddi-Wip always makes my mouth water immediately (even today, though I’ve now learned how to make homemade whipped cream that I think I actually like better! Keep reading for more on that). After that, I remember requesting strawberry shortcake any time I was asked what I’d like for dessert or what my favorite dessert was.
It’s still one of my favorite desserts, and can be so refreshing in the summertime. So seeing as it’s now mid-July and we’ve got the AC cranking at full blast, this seemed like the perfect treat for this weekend’s baking project. I found this recipe for strawberry bourbon shortcakes from another one of my favorite recipe blogs, Half Baked Harvest. The recipe seemed easy enough and so delicious except for one ingredient: bourbon. I’m nearly 7-months pregnant, so I just left out the bourbon from the strawberry topping recipe since we’re really only macerating them so we wouldn’t be cooking out any of the alcohol.
Side note: Did you catch that fancy new culinary term I learned today? Macerate. It really just means that you toss the berries in a sugary mixture and allow them to sit for a while to release the juices. Turns out I’ve been macerating in quite a few of the recipes I’ve been trying out for this blog!
Anyway, back to the recipe. I also love that this recipe puts a twist on the shortcake in that it’s not even a shortcake at all! We’re going to be setting the strawberries & cream on top of a light, buttery biscuit. I don’t think I would’ve really thought about doing it this way, but the photos looked beautiful, so that was enough to convince me! I’ve also never really made a biscuit before, so was excited to check that off my list of “things to try and bake.” Before we jump into the process, I should mention that I halved the recipe since it’s only me and my husband, and no one person needs 4 servings of strawberry shortcake biscuits, no matter how good they are! Alright, so here we go…
First, I got some more use out of my new food processor and tried out the grating function. I cannot believe how easy this made grating the butter. From tons of British Bake Off marathons and YouTube videos of Paul Hollywood’s “cheat’s puff pastry,” I know that using cold grated butter allows you to get butter throughout your dough and melt into the dough during the baking process to really get that buttery pastry. But I’ve never actually tried this, and the thought of grating butter has kind of turned me off from this method. I think I’ve just been afraid that the butter would completely melt in my hand while I was grating it.
Well, no excuses now because I’ve got a game changer: grating via a food processor. This thing grated that butter so fast that there was no opportunity for it to even melt. Honestly, it was so fast it was almost unsatisfying. I pulled out the whole giant food processor from the cupboard, and I was done with it in a matter of seconds! But, whatever, I could get past that for not having melted butter dripping all over my hands. That trade-off is pretty huge to me. Work smarter, not harder (or messier), right?
Then, I mixed my grated butter together with the flour and baking powder, added in buttermilk and honey, and kneaded it for a bit with my hands until it came together into a dough. Once it formed a dough, I rolled it out into a rectangle about 1-inch thick and cut it into 4 pieces. Then I transferred it onto a prepared baking sheet, brushed it with some more buttermilk and sprinkled some coarse sugar on top. Next, just pop those biscuits into the oven and bake at 400F for 15-20 minutes or until golden brown.


While the biscuits were baking, I macerated my strawberries. Basically, I just tossed my strawberries with some honey and sugar and let it sit until I was ready to assemble my biscuit cakes.
While the strawberries sat, I made the whipped cream. I’ve been watching a few homemade whipped cream recipe technique videos the past week, and have been finding that many bakers use mascarpone to get a very creamy whipped cream. I had been wanting to try this, so was excited this recipe actually called for it! It still blows my mind how easy it is to make whipped cream. I also thought adding in mascarpone would make it more complicated, but nope… you just whip it all together with the heavy cream until you get stiff peaks, and you’re done! The mascarpone really makes the stiff peaks something else too! I was never usually quite sure that my peaks were stiff enough when I was just using the heavy cream & sugar, but with the mascarpone, you will know for sure. The peaks kept their form, and it still tasted just as light and fluffy. I also loved how this recipe only used honey to sweeten the cream rather than sugar. Made me feel a little bit healthier, though I did add a teaspoon of vanilla extract.
The biscuits were ready soon after I was done making the whipped cream. I let them cool for a bit on a wire rack, then cut them in half horizontally and started the final assembly.
Just take the bottom halves of your biscuits, add a couple dollops of whipped cream, spoon some strawberries on top, then finish off with the top half of your biscuit, or enjoy open faced!
A few more steps than my original strawberry shortcake experience, but equally as satisfying and delicious!


STRAWBERRY SHORTCAKE BISCUITS
Prep Time: 20 mins | Bake Time: 20 mins
Total Time: 40 mins
BISCUIT INGREDIENTS:
3.5 C (448g) all-purpose flour
1 TBS (22g) honey
1 TBS (8g) baking powder
1 C salted butter, grated and chilled
1 C buttermilk
Coarse sugar for sprinkling
strawberry topping ingredients:
6 C fresh strawberries, cut into quarters
3 TBS (63g) honey
1 TSP granulated sugar
WHIPPED MASCARPONE:
4 oz mascarpone cheese
1 C heavy cream
2 TBS (42g) honey
2 TSP vanilla extract
INSTRUCTIONS:
Pre-heat oven to 400F and line a baking sheet with parchment paper.
In a mixing bowl, combine the flour and baking powder. Add the grated butter and toss with the flour mixture. Add the buttermilk and honey, and mix until just combined. Use your hands to bring the dough together.
Roll the dough out into a 1-inch thick rectangle. Cut the dough into 8 rectangles. Place each piece onto the prepared baking sheet, and brush with buttermilk. Sprinkle the coarse sugar on top.
Transfer the biscuits to the oven and bake until golden brown, about 15-20 minutes. Cool before assembling.
Toss the strawberries, honey, and sugar together. Set aside for at least 15 minutes.
While the biscuits are baking and the strawberries are macerating, make the cream. Using a hand mixer or a stand mixer with the whisk attachment, whip together the mascarpone cheese and heavy cream until just before stiff peaks form. Add in the vanilla, and whip until stiff peaks form. Fold in the honey using a rubber spatula.
Assemble! Slice each biscuit in half horizontally. Take the bottom half, and add a dollop of cream, spoon on the strawberries, and finish off with the top half of the biscuit. Alternatively, enjoy open faced and use both halves as the bottom. Repeat with remaining biscuits.

Will-ube-mine swirl rolls
Ube-filled swirl buns topped with an ube cream cheese icing
Let’s start by talking about what ube (pronounced: oo-beh) is! Ube is a very popular ingredient from the Philippines made from purple yam. While it’s been around in the Philippines for forever and can be found on basically any Filipino menu, ube has really only started to grow in popularity in the US. Its rich, vibrant purple color makes it oh-so Instagrammable, likely adding to the curiosity and increased presence in America. You can even find ube pancake mix at Trader Joe’s now!
Ube’s most common form is an ube jam or paste called ube halaya, which is made by boiling then mashing purple yam, then combining it with other ingredients including coconut milk, condensed milk, evaporated milk (all of the milks), and sugar to bring out a subtly sweet taste that adds a delicious flavor to many Filipino treats such as flan, cakes, and ice cream. Ube halaya is also a popular topping for one of the most quintessential (and one of my favorite) Filipino desserts: halo-halo. While ube halaya translates to ube jam, it’s much thicker than American jams and almost solid — not like a jam you’d spread over toast or pastry. In fact, I usually just like to sneak cheeky spoonfuls of it, especially when it’s homemade!
Speaking of homemade, a tita of mine recently dropped off a couple jars of her homemade ube halaya. Boy was I excited! Since quarantine started, I haven’t been able to get my hands on some since the Filipino stores were closed or not operating at full capacity. So after polishing off half a jar on its own (don’t judge me), I couldn’t wait to try out some ube-flavored treats.
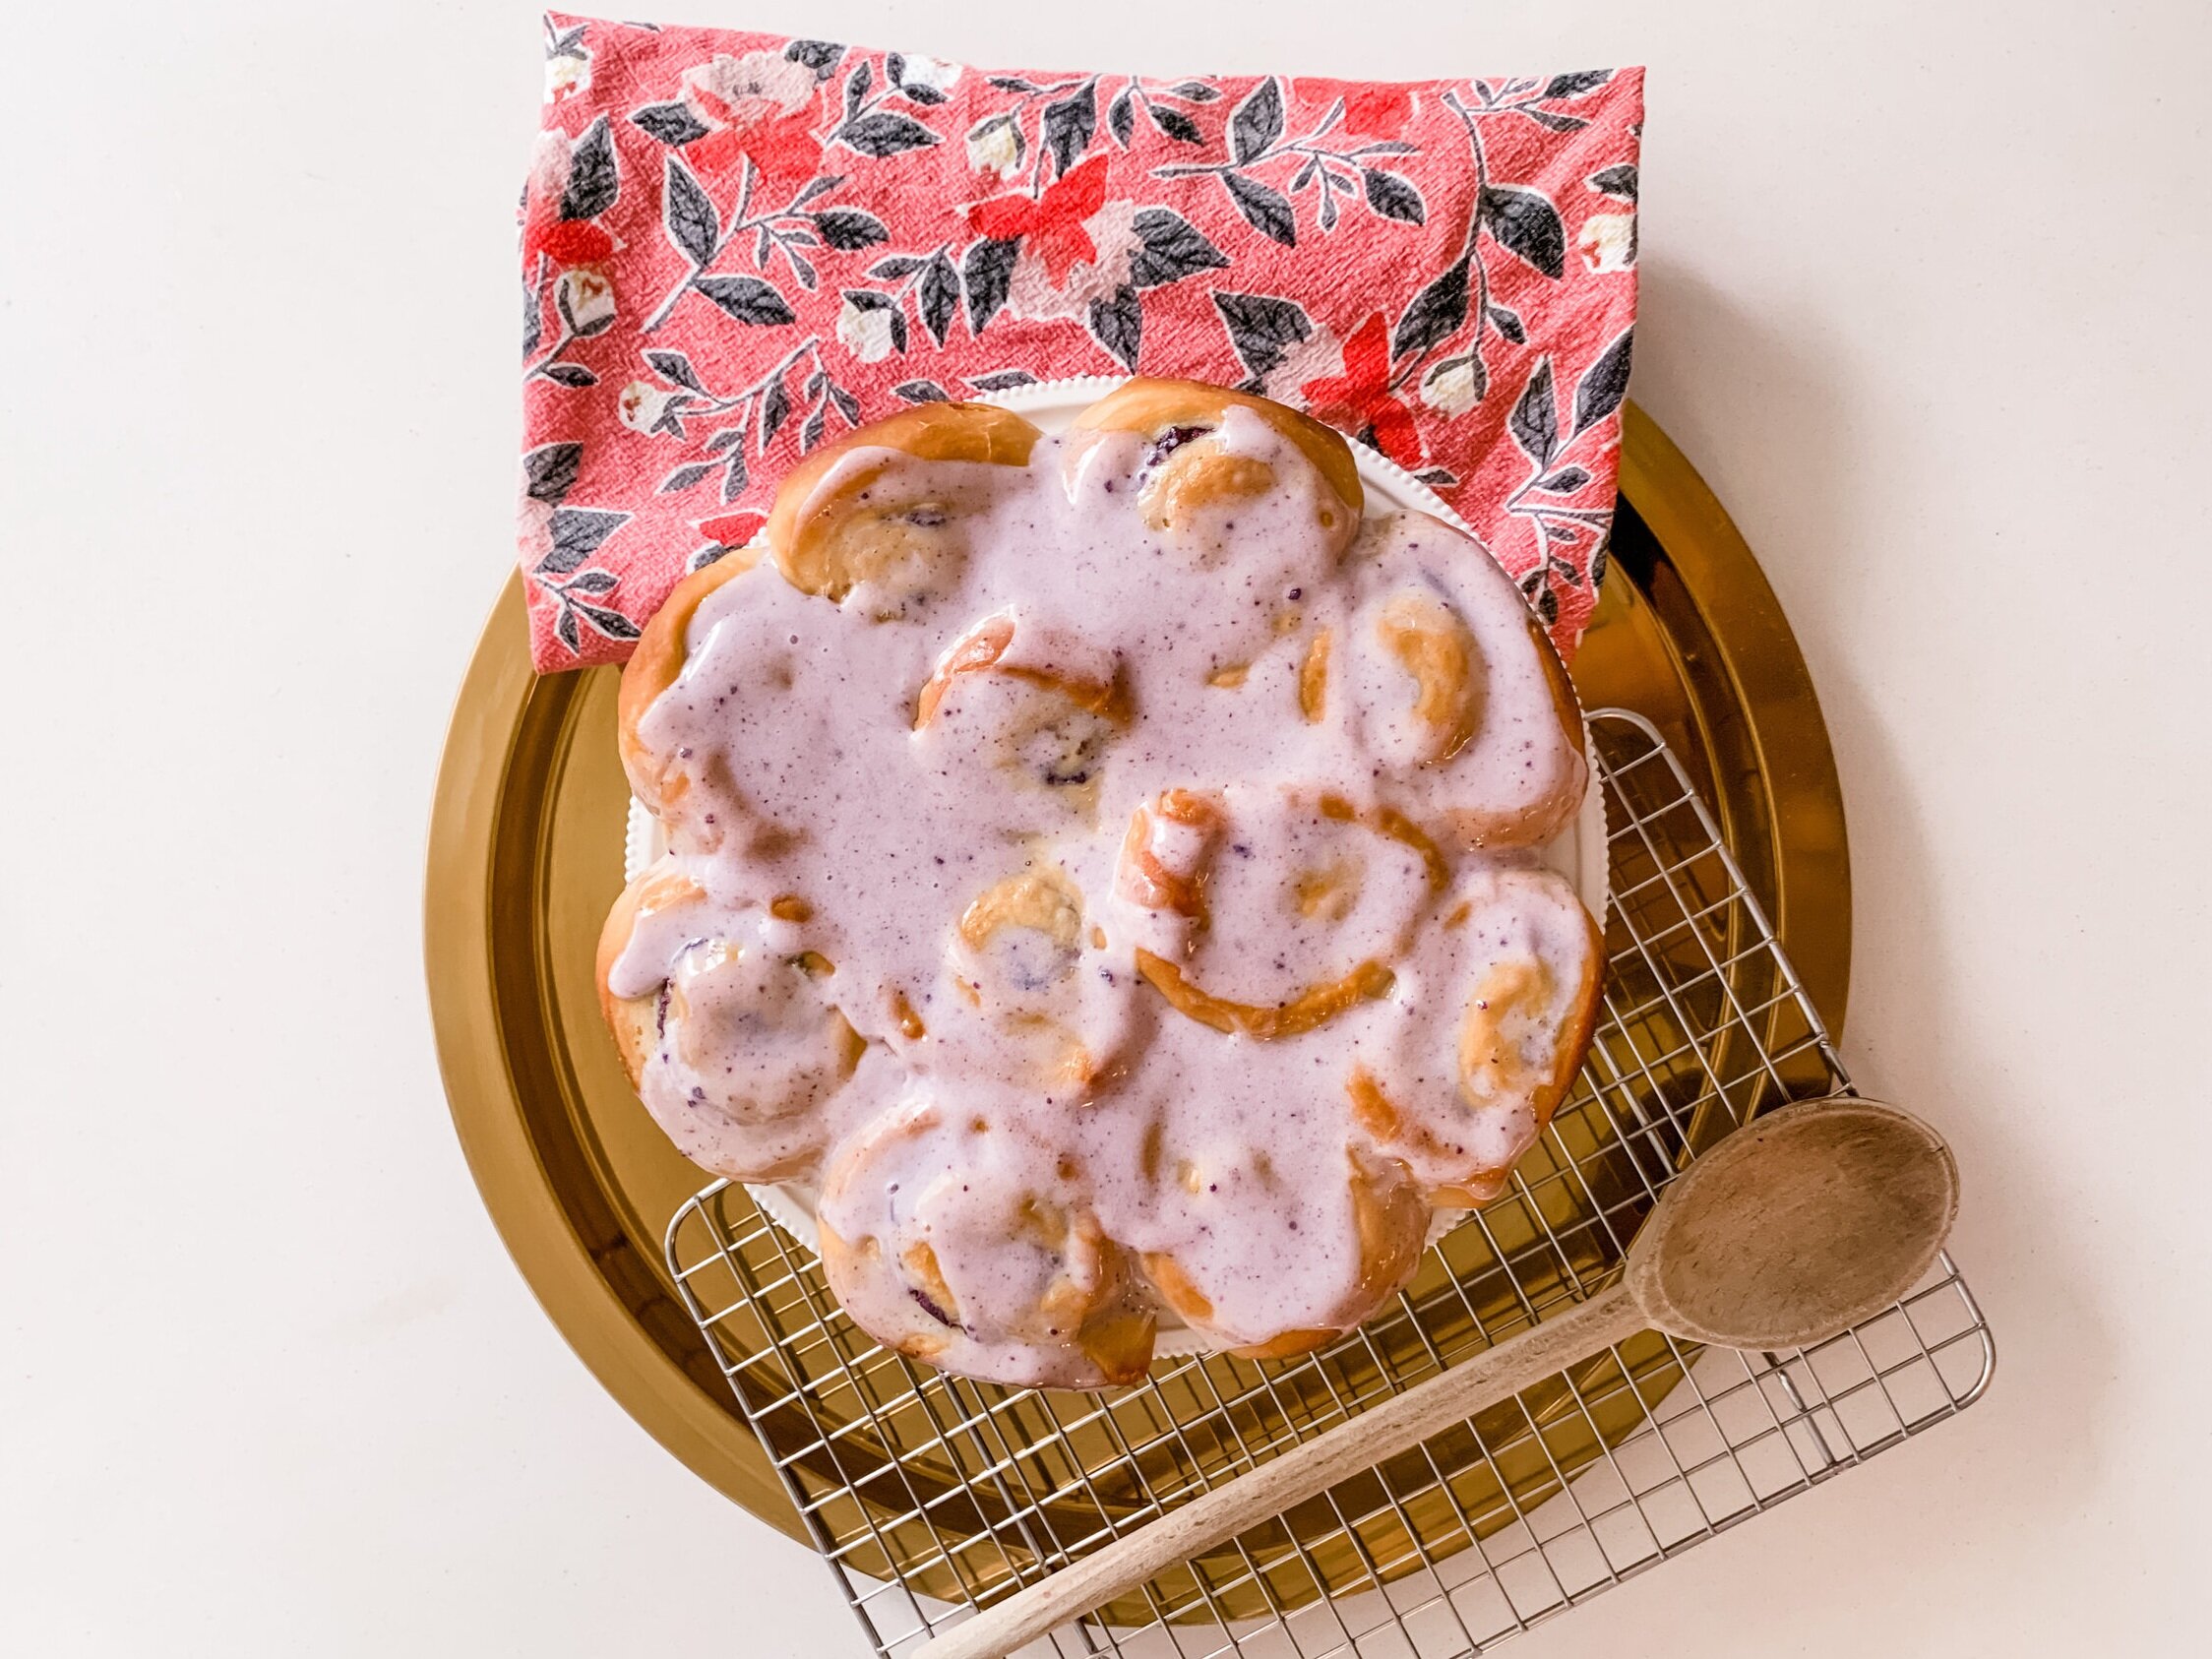
Knowing my beloved ube jam was in short supply, I didn’t want to waste it experimenting. So I figured a safe (and easy) bet would be ube swirl rolls! I only used about a quarter of my second jar for both the swirl rolls and the ube cream cheese icing — and I did NOT go small on the icing. These rolls came out perfectly soft and chewy with just the right amount of sweetness. It’s hard to go wrong with cream cheese icing, but the ube flavor added another level of goodness that I couldn’t help myself when topping over the rolls. As you can see from the pictures below, I did more than top them with icing… more like smothered them in icing!

Pre-smother when you can actually see my purple ube swirls

UBE SWIRL ROLLS WITH UBE CREAM CHEESE ICING
Roll Ingredients:
1 packet of active dry yeast
1/2 C warm water (100F-110F)
1/4 C unsalted butter, softened to room temperature
1 large egg, room temperature
1/2 C (100g) granulated sugar
1 C buttermilk
1 tsp salt
4 1/2 - 5 C (576-640g) all-purpose flour
Ube Filling Ingredients:
4 oz (112g) ube halaya
1 tbs unsalted butter, softened to room temperature
1 tbs (13g) granulated sugar
Ube Cream Cheese Icing Ingredients:
2 oz cream cheese, softened to room temperature
1/4 C unsalted butter, softened to room temperature
1 C (128g) powdered sugar
2 oz (56g) ube halaya
2-6 tbs whole milk, depending on how thick or runny you like your icing
Instructions:
In a small bowl, dissolve the active yeast in warm water. Set aside 5-10 minutes or until it foams at the top.
Using a stand mixer with the paddle attachment on low setting, beat the egg, sugar, butter, and salt until well-combined.
Add the yeast mixture, buttermilk, and 2 C (256g) of flour until well-blended.Switch out the paddle attachment for the dough hook and continue adding the remaining flour (2 1/2 C or 320g) until a soft dough forms.
Place the soft dough on a lightly floured surface and knead by hand for about 5-7 minutes or until the dough is smooth.
When ready, place the dough into a greased bowl. Roll the dough around in the bowl to coat it with the grease. Cover loosely with a clean towel and set in a warm, draft free spot for 1 hour until the dough doubles in size. Or place in the refrigerator overnight if you’re planning to bake in the morning!
While the dough is rising, make the filling. Add the filling ingredients to a small sauce pan if heating over a stove or a microwavable bowl if heating in microwave. Heat ingredients together until you’re able to stir and combine easily.
Once the dough rises, punch it down in the bowl. Then roll the dough out onto a lightly flowered surface and roll it out using a rolling pin. You should be able to make a 13x18” rectangle, but don’t worry if it’s not perfect. You can always just trim the edges to make a rectangle that you can work with.
Using a spoon, spread the filling as evenly as you can across the dough. With the long side of the rectangle towards you, start rolling the dough up and over tightly. Once you’ve got it all rolled up, pinch the dough across to seal it. Cut into 1 1/15 inch sections. Place the pieces swirl side up into a greased pan. I used a round pan as you can see in the pictures, but any shape pan works as long as they all fit with at least 1 inch between each piece.
Loosely cover the pan with a kitchen towel and allow to rise until the dough doubles in size again or the edges are touching each other and the sides of the pan. This should take approximately 1 hour.
Pre-heat oven to 350F. Place the pan in the oven and bake for 30-35 minutes or until golden brown.
While the swirl rolls are baking, make your icing. Using a hand-held mixer or stand mixer with the paddle attachment, combine the icing ingredients until smooth. I recommend starting with just 2 tablespoons of milk and adding 1 tablespoon at a time until you have the consistency you prefer.
Take the rolls out of the oven, and allow to cool in the pan for 5 minutes. Either drizzle (or smother) the icing over your rolls while it’s still in the pan or carefully remove then top with icing.
Enjoy while they’re still warm!